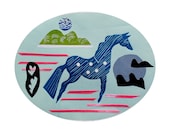
All my hinting may have fallen on Mr Bettyscotch's impoverished ears this valentine's day (two blog posts and an Etsy treasury didn't do the trick), but I did get a delightful treat in
Skin and Blister Blog's fabulous
#heartswap. Reams of washi tape and ribbon are a sure-fire way to win my heart, and totally made my day. Thank you most gratefully heart swap friend xx
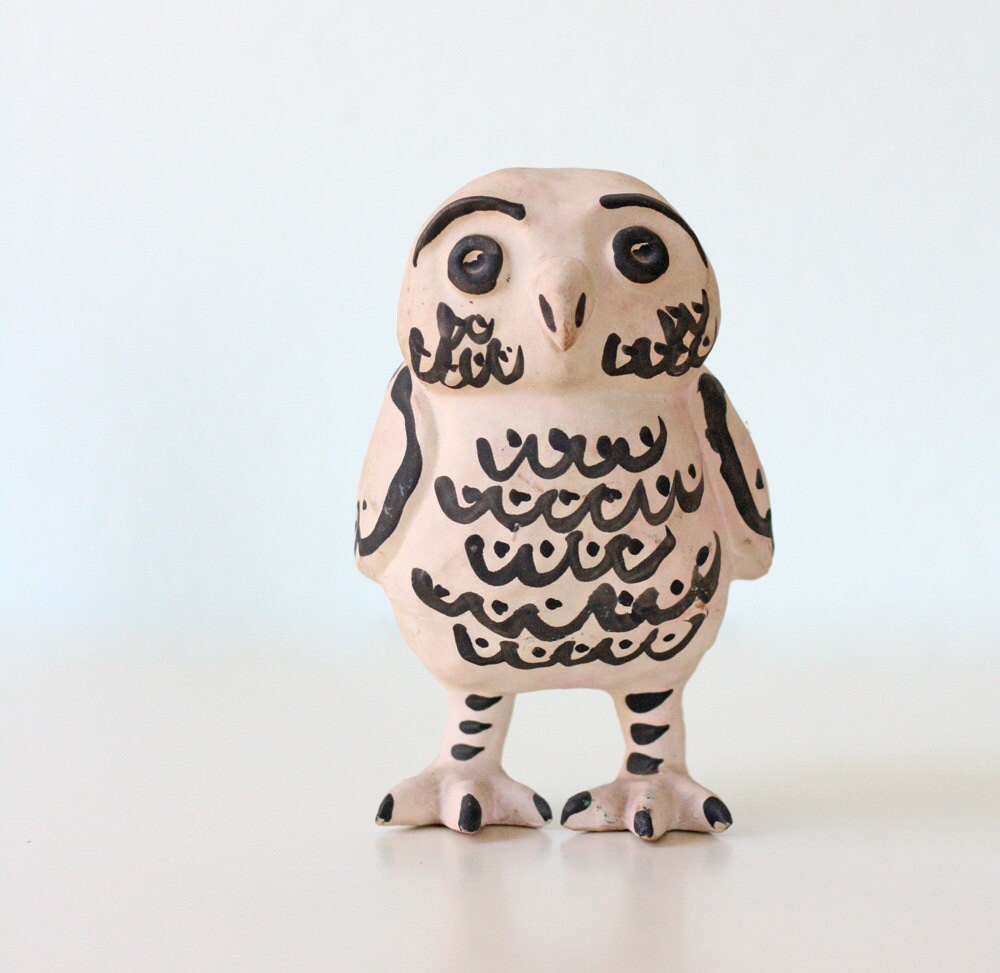
When Anna first sent me the name of my heart swap back in January, I read through her q+a and saw that as well as being partial to a bar of fruit and nut, my #hs also loved wax seals. So my brain started whirring until I remembered a project from the quite wonderful
Print Workshop book by
Christine Schmidt from
Yellow Owl Workshop.
The Print Workshop tutorial uses a lip gloss to mount the stamp, but I didn't have one so I scoured my art box and found some wooden dowels instead (aka long rounded sticks). I glued these together and wrapped different coloured cotton around them to get a gradient effect.
This is how it looked > > >
I had so much fun I thought I should share.
WHAT TO GATHER > > >
a pencil
a piece of paper
a rubber carving block (I use Speedball Speedy-Carve -
HandPrinted sells a nice kit with tools)
cutting tools + craft knife
wooden dowels cut to the same length, or sticks, or anything cylindrical you can wrap
cotton thread in lovely colours
a stick of sealing wax (I got mine from local bookbinder
Sue Callaghan - opening the door to her shop is like stepping back in time and into the pages of a Mr Benn book)
a candle and a match
a (metal) teaspoon you don't mind never using again
a sheet of baking paper or waxed paper
HOW TO MAKE THE STAMP > > >
1 / draw your illustration or initials in pencil on a piece of paper
2 / draw a nice neat-ish circle (or square or rectangle) around your picture
3 / turn over your piece of paper and lay it on your rubber carving block
4 / trace your picture by scribbling all over the back with a pencil (it will be reversed on your block)
5 / carve out your design with your tools
6 / cut around the outside of your circle / square / rectangle with a craft knife
7 / this is your stamp
- - - whoooohoooo first bit done - - -
8 / now line up your sticks so you have a flat base at one end
9 / glue the sticks together (I used a glue gun for this bit, but other glues should be fine too)
10 / take your cotton and, starting at one side, wrap it around your sticks, covering the loose thread
11 / to change colour, knot in the next cotton and carry on winding
12 / keep going like this with different coloured cottons until your sticks are totally covered and beautiful
13 / tie a knot and tuck in the loose thread
14 / stop and admire your rainbow-like workmanship
15 / now attach your stamp to the end of your pretty sticks using superglue
16 / I painted the other end with acrylic paint, but you don't have to
- - - whoooohoooo, you've made your very own colourful stamp stick - - -
HOW TO MAKE THE WAX SEAL > > >
1 / lay out a piece of baking paper on the floor or on a table
2 / cut a slice off the sealing wax and put it in the teaspoon
3 / heat the teaspoon by holding a lit candle below
4 / when all the wax in your spoon is melted, pour it out on the baking sheet (you want to make a smallish circle of wax)
5 / stamp the wax using your fabulous seal
6 / when the wax is set, carefully lift it off the baking sheet and stick it where you want it using a glue dot or double-sided sticky tape or just glue
Once you've perfected the seal making, you can just pour the wax directly where you want it to be. You can even miss out the teaspoon bit altogether and drip it where you want it, but watch out because the wax can burn and you'll be left with black streaks.
And that's it - - - a diy wax seal. Ta da!